How to Share a Saved View with Your Team
How to Share a Saved View with Your Team
Section titled “How to Share a Saved View with Your Team”Saved views let you preserve a specific combination of filters, columns, and sort order so you do not have to set them up every time.
In HARi today, saved views are personal by default. System views — created via the Schema editor or seeded by a solution — are visible to everyone in the workspace. There is no per-team or per-role sharing UI yet for ad-hoc views; this guide covers the two paths that exist.
Creating a Personal View
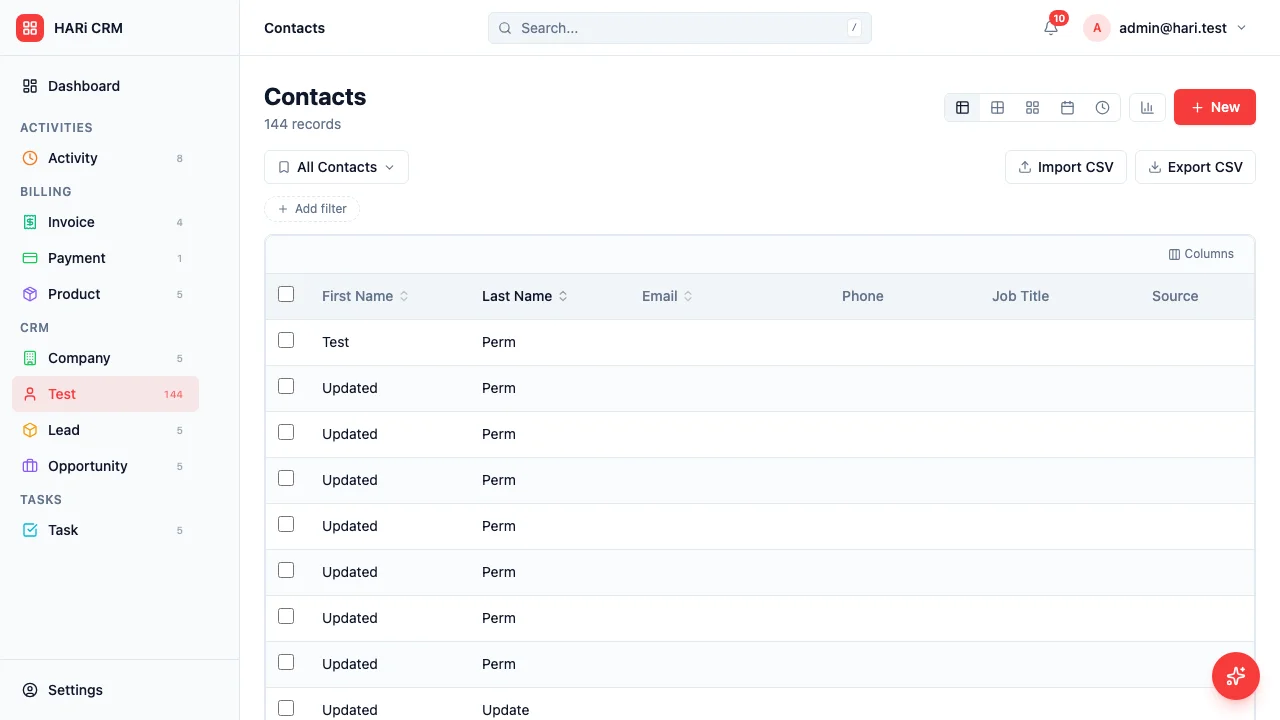
Section titled “Creating a Personal View”- Navigate to any entity list (e.g., Opportunities, Contacts)
- Set up your preferred filters (e.g., Stage = Proposal)
- Adjust the columns — show, hide, or reorder them
- Set the sort order (e.g., close date ascending)
- Optionally switch the view mode — Table, Kanban, Calendar, Cards, or Timeline
- Open the views menu (the bookmark button at the top of the list)
- Click Save current view
- Give it a descriptive name (e.g. “Proposals pending this month”) and save
Only you see this view.
Creating a System View (visible to everyone)
Section titled “Creating a System View (visible to everyone)”To make a view available to the whole workspace:
- Open Settings > Schema
- Pick the entity (e.g. Contact)
- Open the Views tab
- Add a new view — pick a type (table, kanban, calendar, list)
- Configure the filters, columns, and sort
- Save
System views show up in every user’s views menu for that entity.
What Gets Saved
Section titled “What Gets Saved”Either way, the saved configuration includes:
- Filters — The conditions you set up
- Column layout — Visible columns and their order
- Sort order — The sort field and direction
- Smart List flag — When enabled on a personal view, the entity sidebar shows a live count of how many records match
What is NOT saved on the view itself:
- Your personal data — Filters never embed the saved-by user’s identity; “Owner = me” type filters resolve to whichever user is looking
- Per-record state — Views are queries, not data snapshots