How to Create and Send an Invoice
How to Create and Send an Invoice
Section titled “How to Create and Send an Invoice”HARi CRM includes built-in invoicing (via the Billing solution) so you can go from closing a deal to getting paid without switching tools.
Creating an Invoice
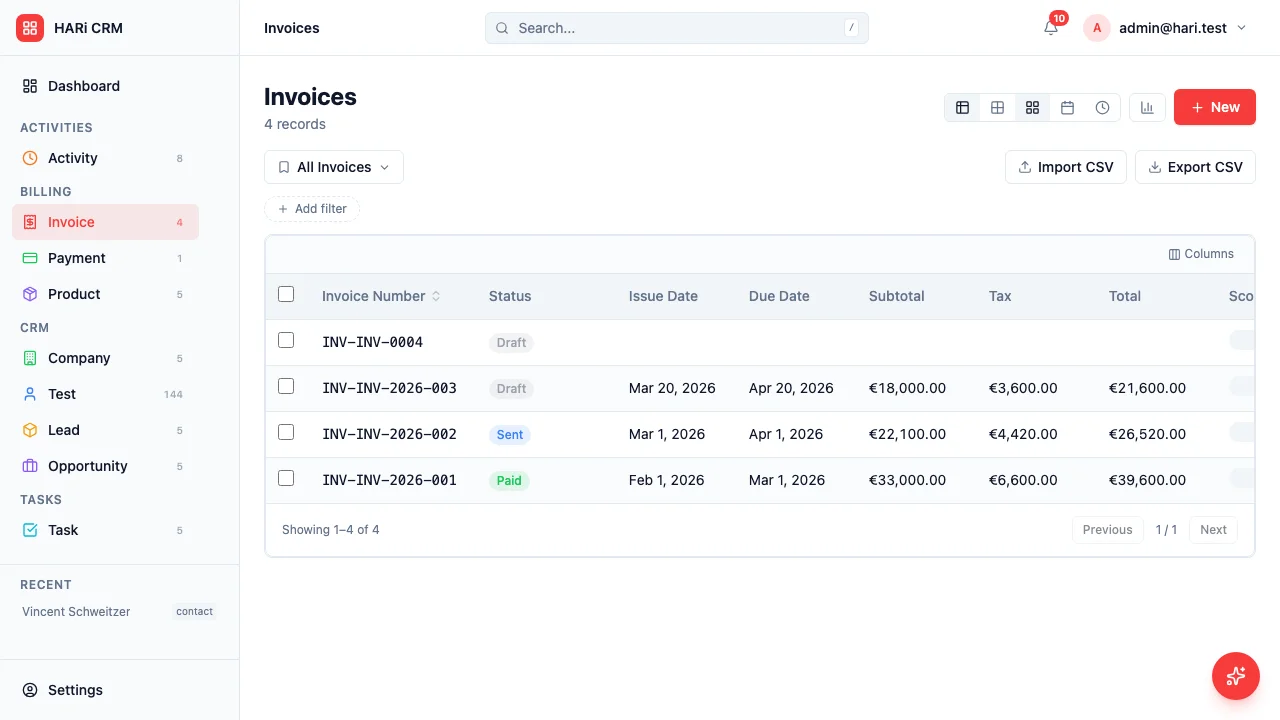
Section titled “Creating an Invoice”- Go to Invoices in the left sidebar
- Click New at the top of the list
- Fill in the invoice details:
- Invoice Number — a unique reference (e.g.
INV-2026-001) - Status — defaults to Draft
- Issue Date — when the invoice is dated
- Due Date — when payment is expected
- Company — the customer’s company (a Linked record search)
- Contact — optional contact person at that company
- Notes — any free-text notes that should appear on the invoice
- Invoice Number — a unique reference (e.g.
- Click Save
The currency on the totals is the workspace currency, configured in Settings > Currency. See multi-currency setup if you need to invoice in a different currency.
Adding Line Items
Section titled “Adding Line Items”Once the invoice is created, add your products or services:
- Scroll to the Lines subgrid on the invoice record
- Click New to add a line item
- Enter the details:
- Description — what you are charging for
- Quantity — number of units
- Unit Price — price per unit
- Tax % — if applicable
- Product (optional) — link to a product in your catalogue
- Save
Repeat for each line item. Subtotal, Tax, and Total on the parent invoice update automatically — they’re read-only computed fields.
Reviewing the Invoice
Section titled “Reviewing the Invoice”Before sending, review:
- Are all line items correct?
- Is the company / contact accurate?
- Is the due date reasonable?
- Does the total match what was agreed?
Generating a PDF
Section titled “Generating a PDF”- With the invoice record open, click the PDF button in the toolbar
- The PDF is generated using your active invoice template and downloaded to your computer
- Open it to make sure it looks right
See Generate a PDF from a Record for more details on PDF customization. PDF templates live in Settings > Templates.
Sending the Invoice
Section titled “Sending the Invoice”- With the invoice record open, click Send Template
- Pick the email template you want to send
- The recipient is auto-filled from the linked contact’s email
- Edit the subject and body if needed, then click Send
The PDF is not auto-attached. Generate the PDF first, then drag-and-drop it into the email composer if you want to attach it manually.
Tracking Payment
Section titled “Tracking Payment”When payment is received:
- Open the invoice
- Change the Status field to Paid
- Optionally, create a Payment record (linked to the invoice) with the payment date, method, and amount