How to Personalize Your Workspace
How to Personalize Your Workspace
Section titled “How to Personalize Your Workspace”HARi CRM adapts to how you work. You can customize your navigation, dashboard, views, and display preferences so the CRM feels like it was built just for you.
Renaming Your Workspace
Section titled “Renaming Your Workspace”Workspace admins can rename the workspace from Settings > Branding > Workspace identity. The new name shows up in the workspace switcher (top-right user menu), the login picker for users who are members of multiple workspaces, and any place HARi labels the current workspace.
The Workspace URL below the rename field is locked. It’s set when you create the workspace and stays put on purpose: it’s the address of every embed widget you’ve shared, every OAuth callback you’ve configured with external services, and every direct link a teammate has bookmarked. Changing it would break those.
If you genuinely need to migrate to a different URL, contact support.
Customizing the Sidebar Navigation
Section titled “Customizing the Sidebar Navigation”The sidebar lists every entity in your workspace. As an admin, you can control which entities appear and how they are grouped via the schema editor:
- Open Settings > Schema
- Pick the entity you want to hide or rename
- Use Show in sidebar to toggle visibility for an entity
- Use the entity’s Module field to group it into a section (e.g. Sales, Operations, Support)
- Adjust the entity label if you want it to read differently in the sidebar
- Click Save
These changes affect every user in the workspace — the sidebar layout is shared, not personal.
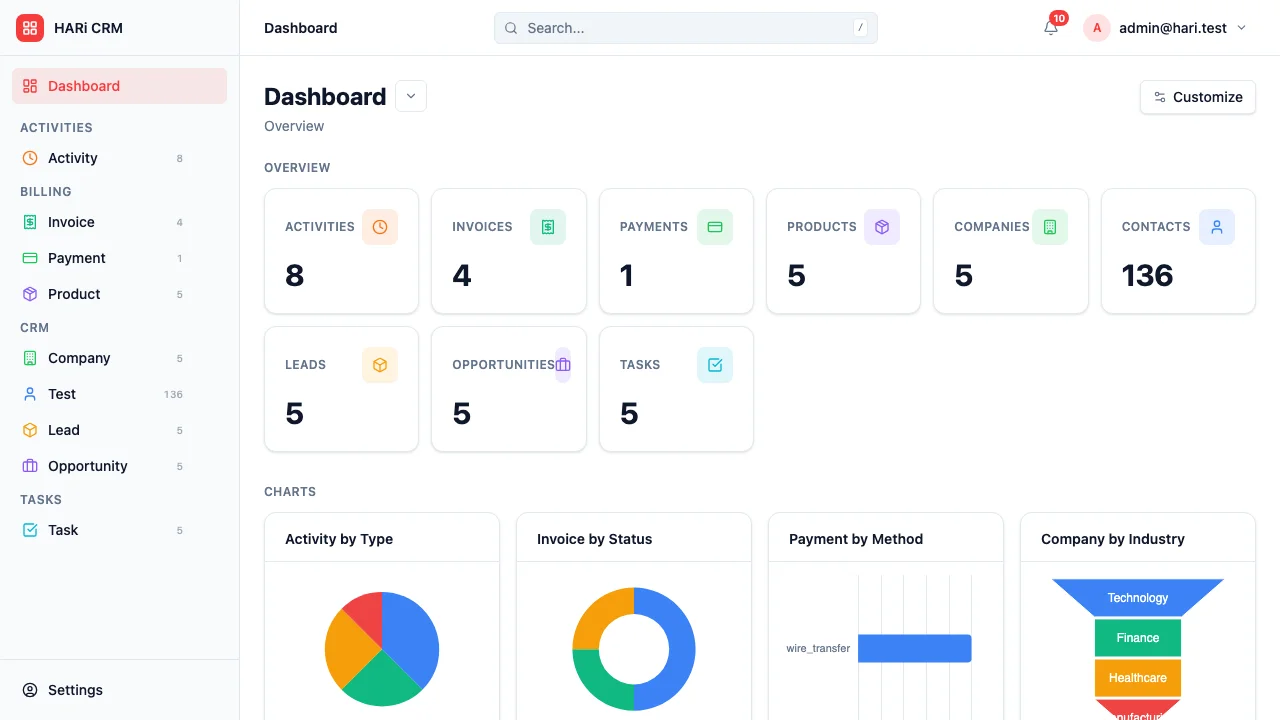
Setting Up Your Dashboard
Section titled “Setting Up Your Dashboard”Your dashboard is your home screen. Make it show what matters to you:
- Go to your Dashboard
- Click Customize
- Choose your layout:
- Simple mode — A guided picker for counters and charts that arranges them automatically
- Grid mode — A drag-and-drop grid where you size and position each widget
- Add widgets:
- Charts — Visualize pipeline, revenue trends, or activity counts (learn more)
- Counters — Display key numbers (open deals, overdue tasks, new leads this week)
- Save your layout
Saving Views
Section titled “Saving Views”For each entity list, you can save filters, columns, and sort order so you can come back to the same setup with one click:
- Navigate to an entity list
- Set up your preferred filters, columns, and sort order
- Save the view
- Pick the saved view from the views menu next time you visit the page
Saved views can also be shared with your team — see Share a Saved View.
Display Preferences
Section titled “Display Preferences”- Click your profile avatar in the top-right corner and pick Profile (or open Settings > Profile)
- Scroll to the Preferences section
- Adjust:
- Language — Choose your interface language
- Time zone — Your local time zone for dates and reminders
- Default page size — How many records to show per page in list views
- Click Save preferences
The default currency for the workspace is configured in Settings > Currency by an admin — see Set Up Multi-Currency.
Notification Preferences
Section titled “Notification Preferences”Control how and when you receive alerts:
- Open Settings > Profile
- Scroll to the Notifications section
- Toggle email and in-app notifications for each event type
- See Configure Email Notifications for detailed setup
- Put your most-used entities first — If you live in Opportunities, make it the top sidebar item
- Build a morning dashboard — Include overdue tasks, deals closing this week, and new leads
- Save entity-specific views — “My deals closing this month” is more useful than “All opportunities”