Customize Form Layout
Customize Form Layout
Section titled “Customize Form Layout”The form layout determines how fields appear when a user opens a record. In HARi CRM, you can organize fields into tabs and sections, reorder them, and create a logical flow that matches your team’s workflow.
Understanding the Form Structure
Section titled “Understanding the Form Structure”HARi forms have three levels of organization:
- Tabs — Top-level grouping (e.g. “Details”, “Financials”, “Activity”)
- Sections — Groups within a tab (e.g. under “Details”: “Contact Info” and “Address”)
- Fields — Individual data entry fields within a section
Editing the Form Layout
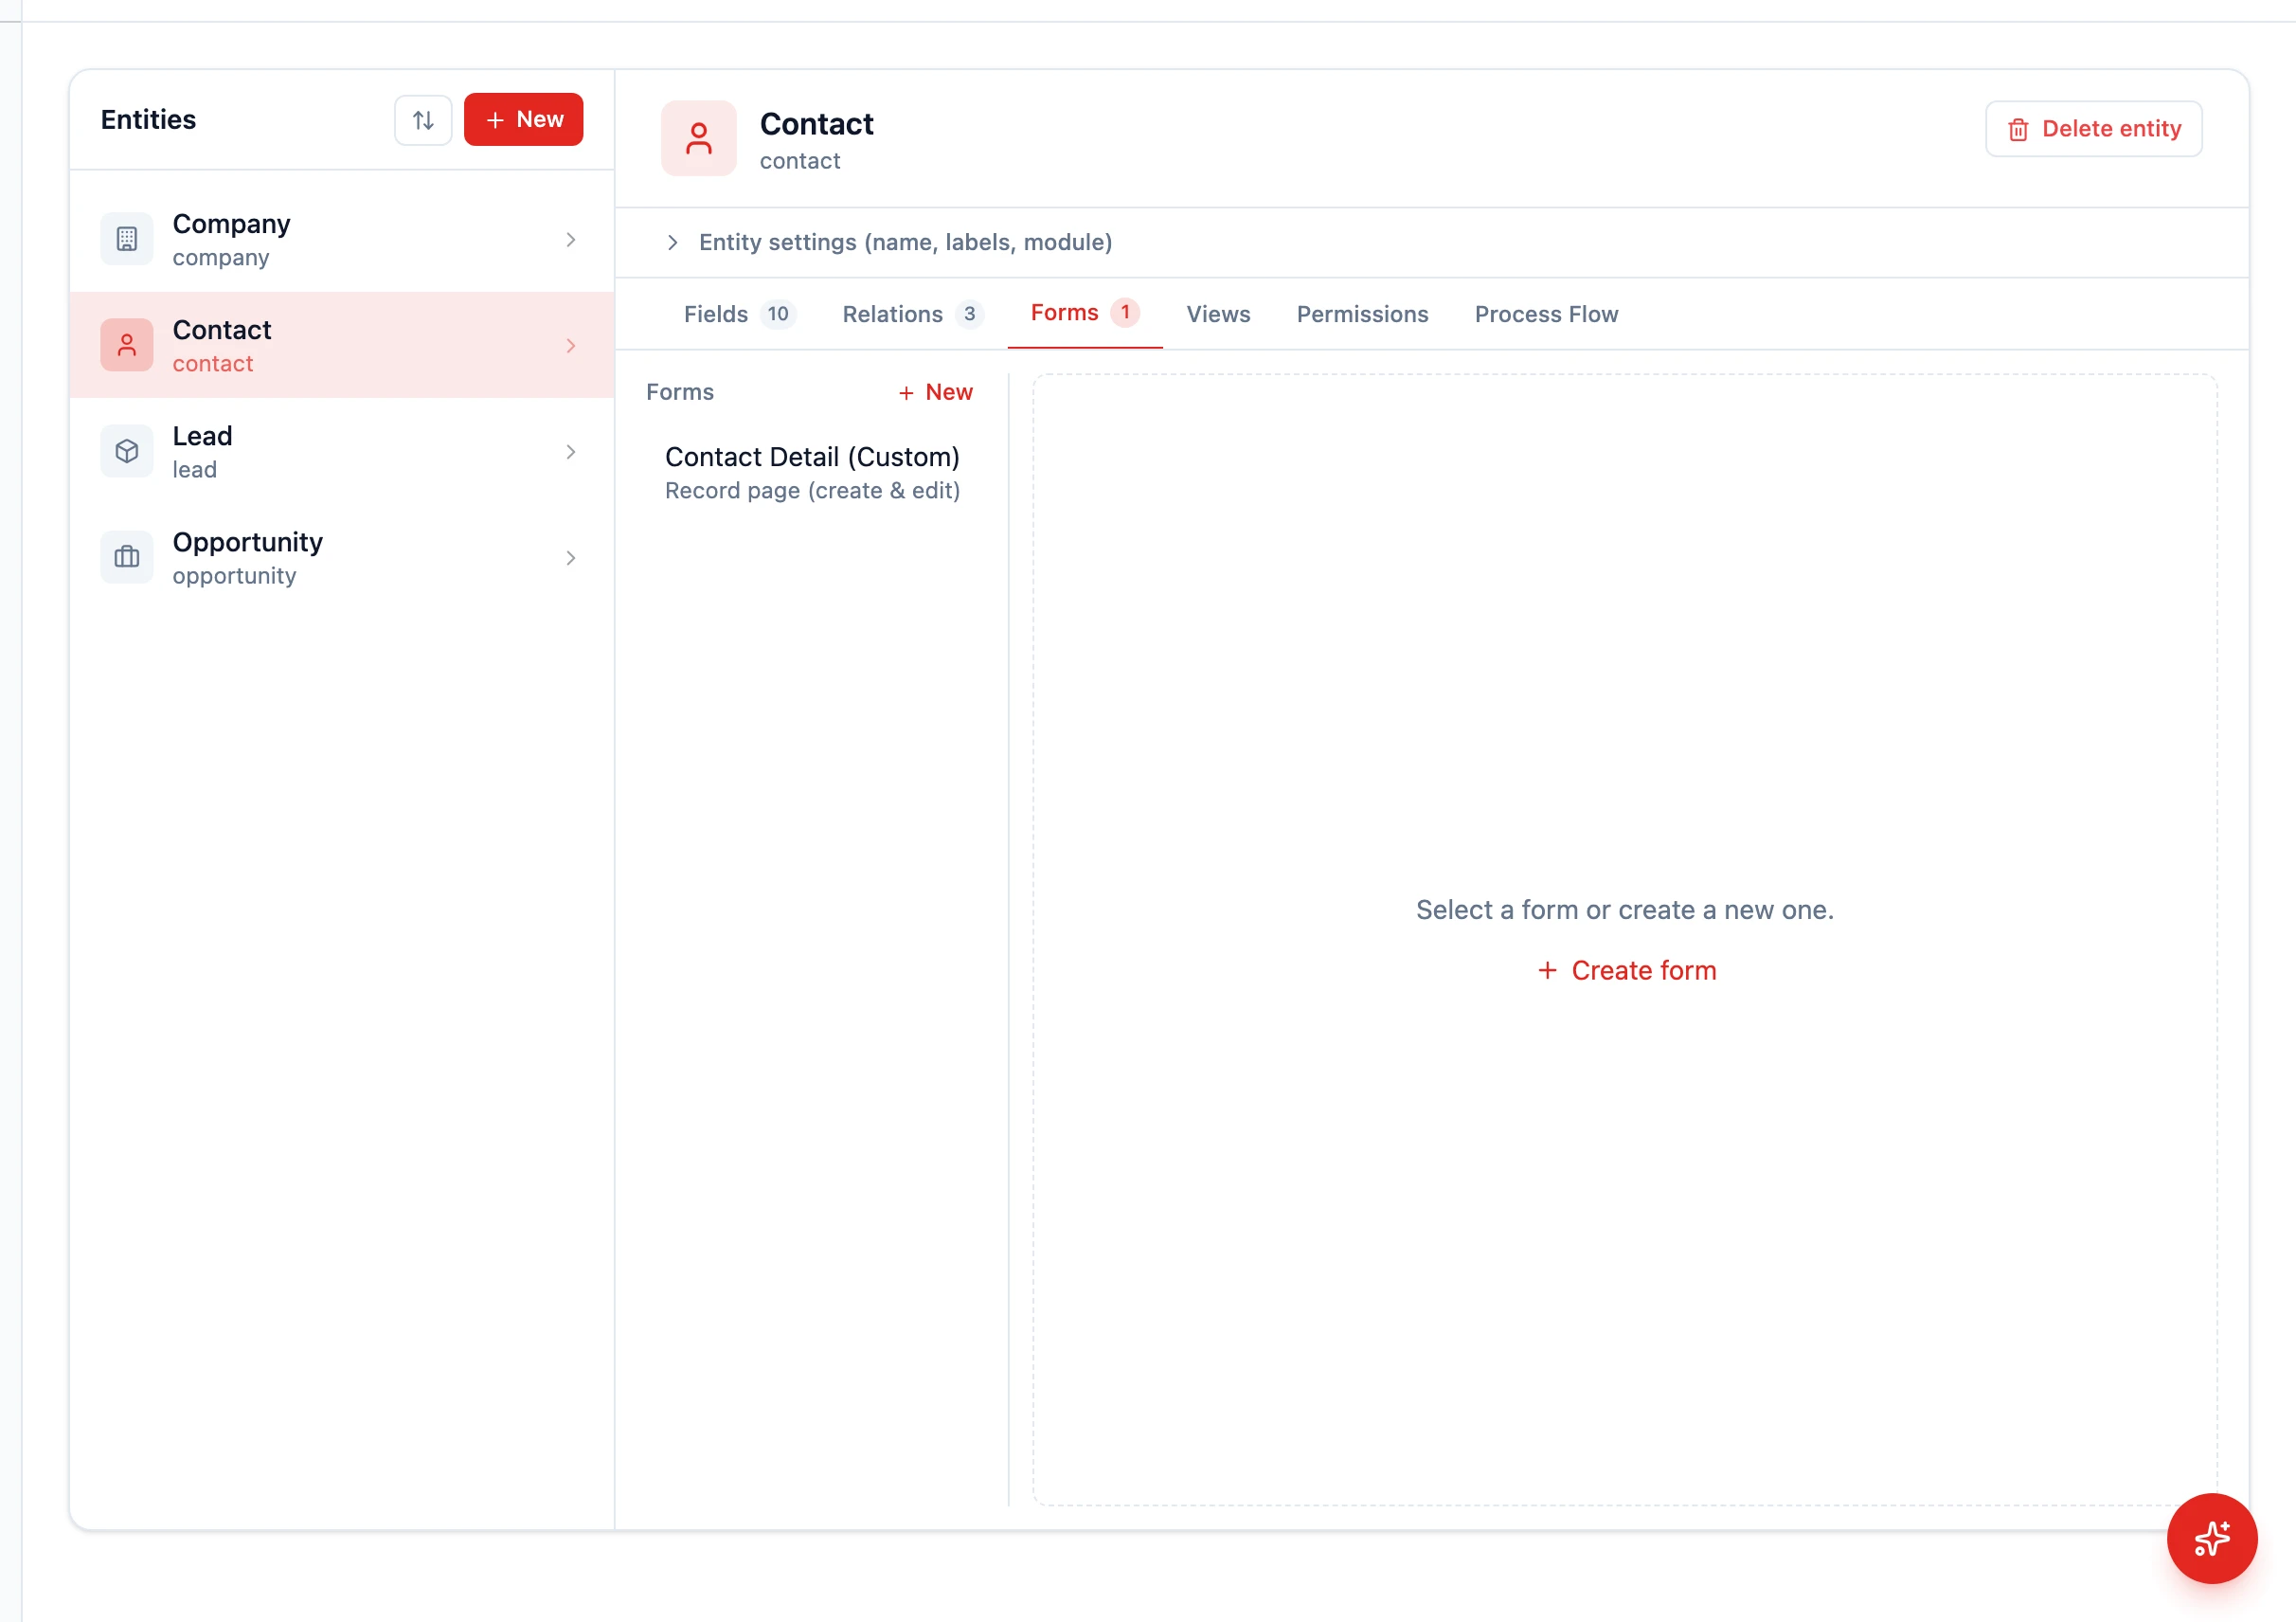
Section titled “Editing the Form Layout”- Go to Settings > Schema
- Select the entity whose form you want to customize
- Click the Forms tab
- The form editor opens, showing the current layout (start with the default form, named
default)
Managing Tabs
Section titled “Managing Tabs”- Add a tab: Click Add Tab and enter a label (e.g. “Financials”)
- Rename a tab: Click the tab label to edit it
- Reorder tabs: Drag tabs left or right to change their order
- Remove a tab: Click the remove icon on the tab. Fields in the removed tab move back to the available-fields panel.
Managing Sections
Section titled “Managing Sections”- Add a section: Within a tab, add a section and enter a label
- Rename a section: Click the section header to edit
- Section columns: Switch a section between 1, 2, or 3 columns to fit more fields side by side
- Sidebar components: HARi forms also support sidebar widgets like KeyFacts, ActivityTimeline, RelatedRecordsList, HtmlTemplate, Counter, and Chart — drop them into the right-hand sidebar slot
Arranging Fields
Section titled “Arranging Fields”- Drag fields from the available-fields panel into a section, or move them between sections
- Place the most important fields first — the user should see key information without scrolling
- Group related fields together (e.g. “Street”, “City”, “Postal Code” in an “Address” section)
- Save the form layout when done
Best Practices
Section titled “Best Practices”- First tab, first section: Put the most critical fields here. For a Contact, that is name, email, phone, and company.
- Progressive disclosure: Put optional or detailed fields on secondary tabs so they do not overwhelm the user.
- Logical grouping: “Contact Info” (email, phone), “Address” (street, city, country), “Social” (LinkedIn, Twitter) as separate sections.
- Consistent layouts: Use the same tab structure across similar entities for a predictable experience.
- Subgrids on a separate tab: If the entity has many related records, put subgrids on their own tab (e.g. “Related Records”).
Per-Profile Forms
Section titled “Per-Profile Forms”You can create different form layouts for different permission profiles. For example:
- Sales Rep profile: Shows deal-related fields, hides financial details
- Finance profile: Shows all financial fields, hides sales-specific data
- Admin profile: Shows everything
This is configured by creating multiple form definitions and assigning each to a permission profile.
Next Steps
Section titled “Next Steps”- Add a Custom Field to create new fields to arrange on the form
- Setup a Lookup Field to add relationship fields to the form
- Interface Guide for an overview of how forms appear to users