Import and Export
HARi makes it easy to bring your existing data in and get your CRM data out. Import from CSV, export to CSV, and use smart matching to avoid duplicates.
CSV import
Section titled “CSV import”Getting started
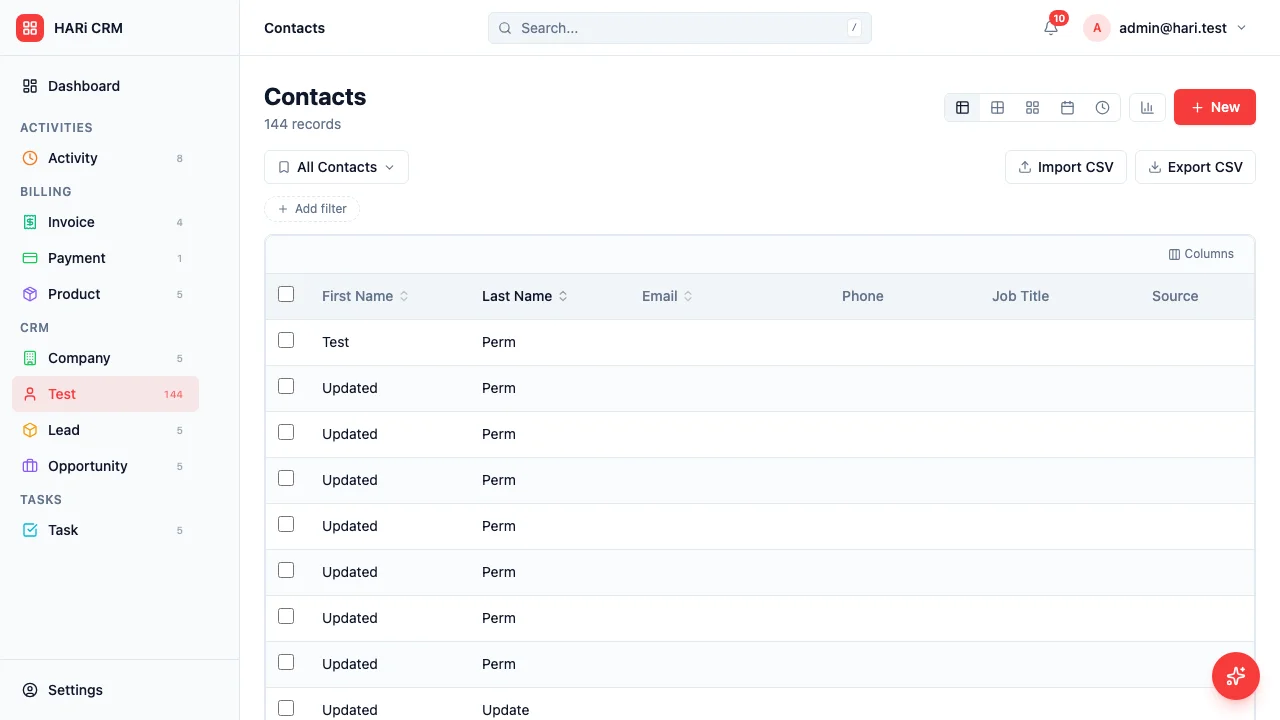
Section titled “Getting started”- Go to any entity list (Contacts, Companies, Leads, etc.)
- Click Import in the toolbar
- Upload your CSV file
- Map your CSV columns to HARi fields
- Review the preview and click Import
Column mapping
Section titled “Column mapping”HARi automatically matches CSV column headers to entity fields by name. For example, “First Name” maps to the first name field, “Email” maps to the email field.
For columns that are not automatically matched, use the dropdown to select the correct field or skip the column entirely.
Linking records by name
Section titled “Linking records by name”When a CSV column maps to a linked record — a contact’s Company, a deal’s Contact — you never have to paste a database ID. Map the column to the linked field and HARi shows a Match by picker: by default it matches on the record’s name, and you can switch it to any other text field on the linked record, such as a code or reference number.
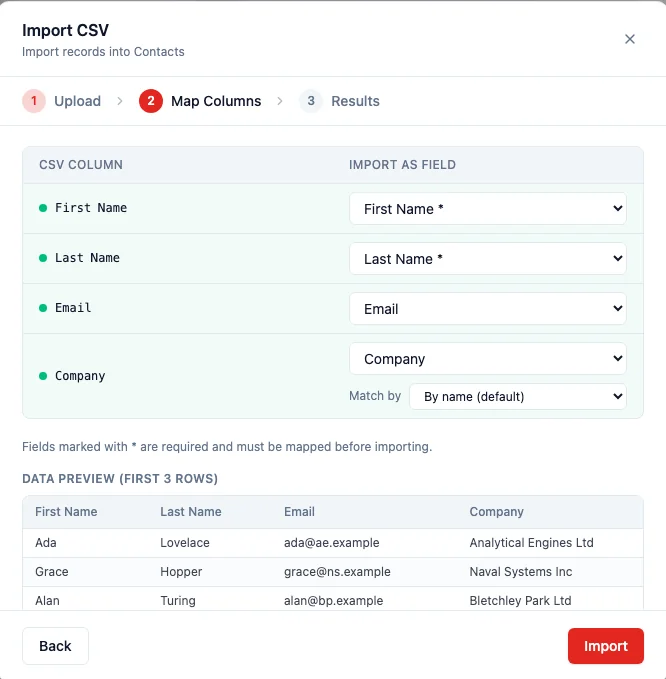
So a spreadsheet that says Company: Wiresk links each contact to the company named “Wiresk” automatically. If a value has no match, that row is reported as an error in the results — nothing is guessed or silently created — so you can fix the spelling and re-import.
Skipping duplicate rows
Section titled “Skipping duplicate rows”To avoid creating the same record twice, turn on Skip rows that already exist and choose the column HARi should check. Any incoming row whose value already exists in that column is skipped instead of creating a duplicate, and the count of skipped rows is reported when the import finishes.
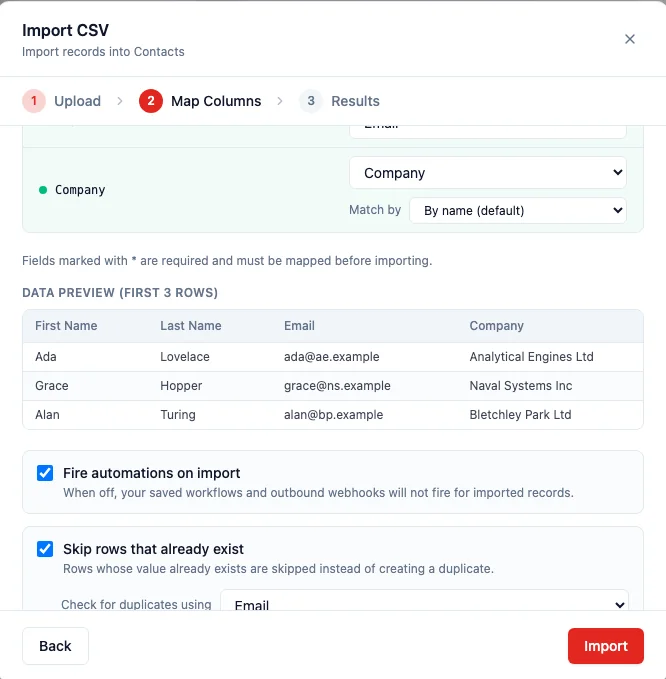
This makes re-importing a refreshed export safe: run the same file again and only genuinely new rows are added. You can also control whether your automations run for imported records with the Fire automations on import toggle — leave it on for a normal import, or turn it off when loading a large historical backfill you do not want to trigger follow-up actions.
Updating existing records
Section titled “Updating existing records”The importer creates new records by default. To update records you already have, include an id column in your CSV holding each record’s ID: where the ID matches an existing record, that row updates it instead of creating a new one. The easiest way to get those IDs is to export the records first, edit the values in your spreadsheet, and import the file back.
Import preview
Section titled “Import preview”Before running the import, HARi shows a preview of the first few rows so you can confirm the mapping is right:
- Which field each CSV column will fill
- How linked records will be matched (by name, or the field you chose)
- The actual values from your file, laid out as they will import
Fix issues in your CSV and re-upload, or proceed once the preview looks correct. Required fields are marked with an asterisk and must be mapped before the Import button is enabled.
CSV export
Section titled “CSV export”Export any entity list to CSV:
- Apply filters if you want a subset (e.g., only active contacts in Hong Kong)
- Click Export in the toolbar
- Choose which fields to include
- Download the CSV file
Exports respect your current view filters and sort order. Column headers use field labels, not internal names.
Template download
Section titled “Template download”Click Download Template to get a blank CSV with the correct column headers for an entity. Fill it in with your data, then import it. The template includes all required and optional fields with example values.
Bulk operations
Section titled “Bulk operations”After import, you can use bulk actions on the imported records:
- Assign to a user
- Update a field value
- Trigger AI enrichment
- Add to a workflow
Limits
Section titled “Limits”- Maximum file size: 10 MB
- Maximum rows per import: 10,000
- Supported encoding: UTF-8 (recommended), Latin-1
For larger imports, split your file and import in batches.
Full workspace export
Section titled “Full workspace export”Need a complete copy of everything in your workspace — not just one entity? Use the workspace export to get a single ZIP archive containing every record, attachment, audit log entry, and email in your account.
Step 1 — Open the export card
Section titled “Step 1 — Open the export card”Go to Settings → Data Privacy. The first card on the page is Export workspace data.
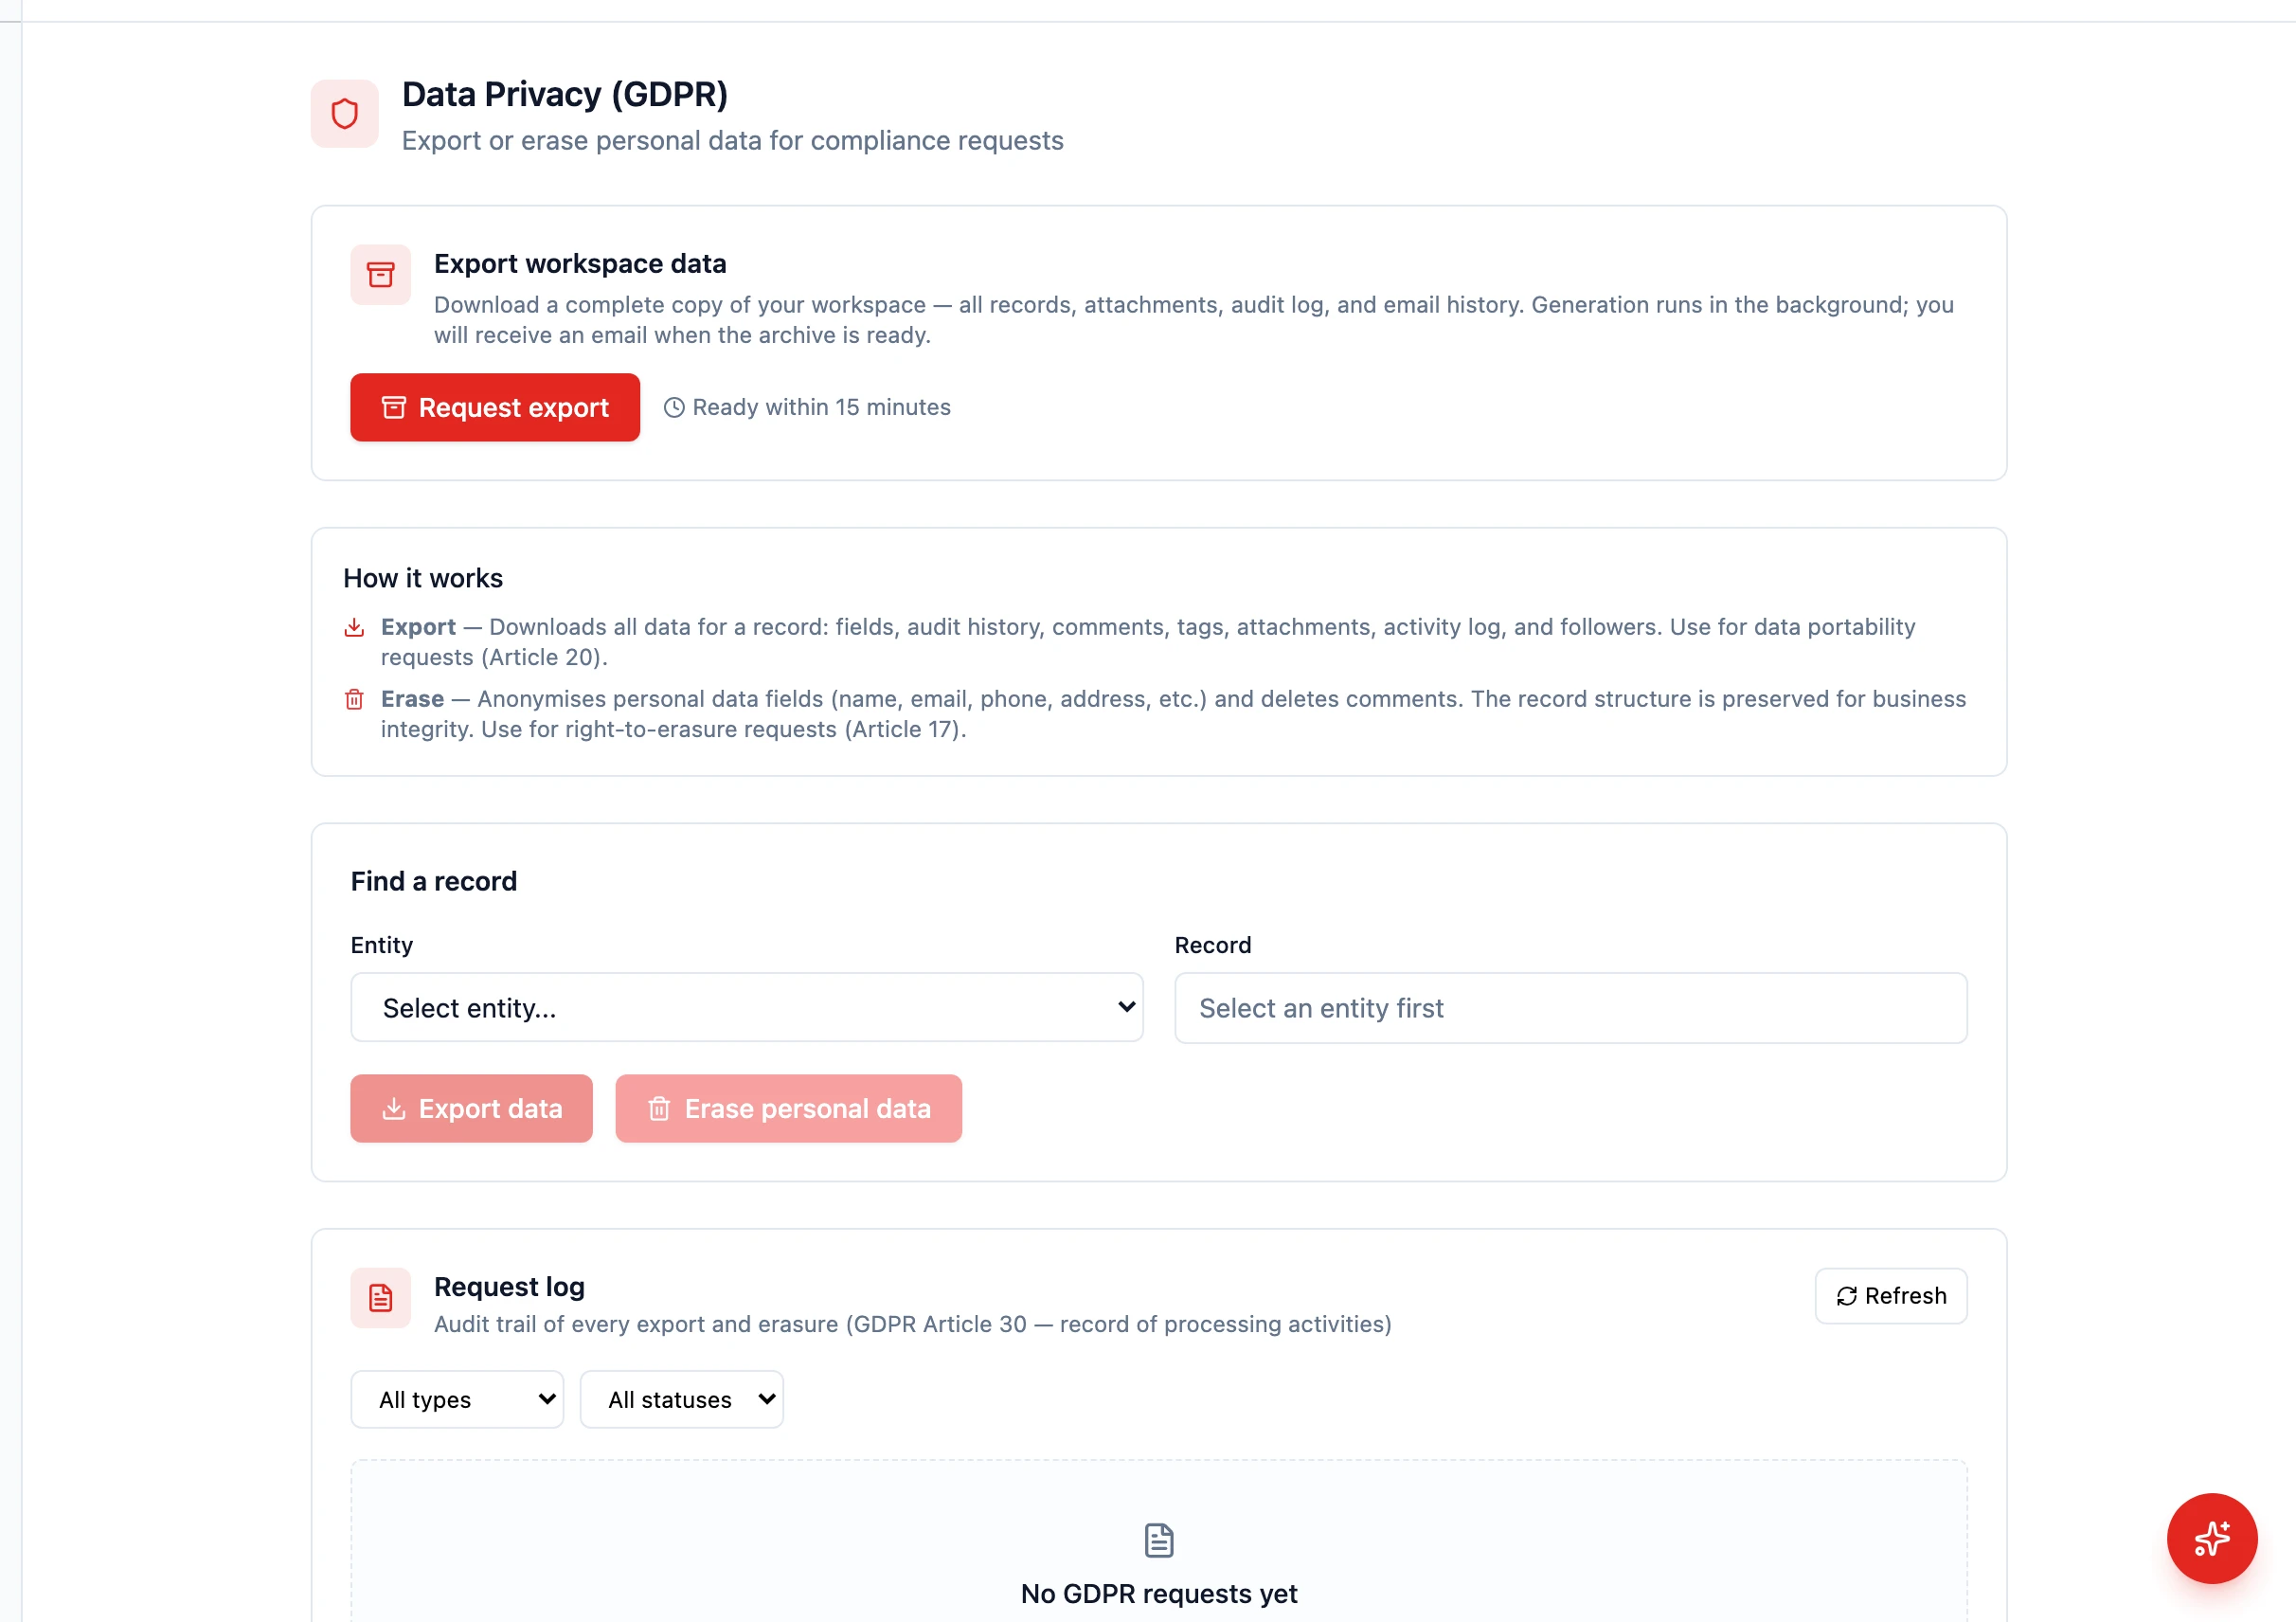
Step 2 — Request the export
Section titled “Step 2 — Request the export”Click Request export. The button disables and a confirmation banner appears under the card showing the email address that will receive the download link.

The archive is generated in the background; you’ll get a download link by email within about 15 minutes. Only one export can be in flight per workspace at a time — if you click again before the first one finishes, the page tells you an export is already in progress.
Unlike CSV export (which is per-entity and runs from the entity list view), the workspace export is a complete snapshot of the whole workspace in one file.
Common use cases:
- GDPR or PDPO subject-access requests
- Legal or compliance backups
- Migrating between plans or to another system