How to Use Cards View
How to Use Cards View
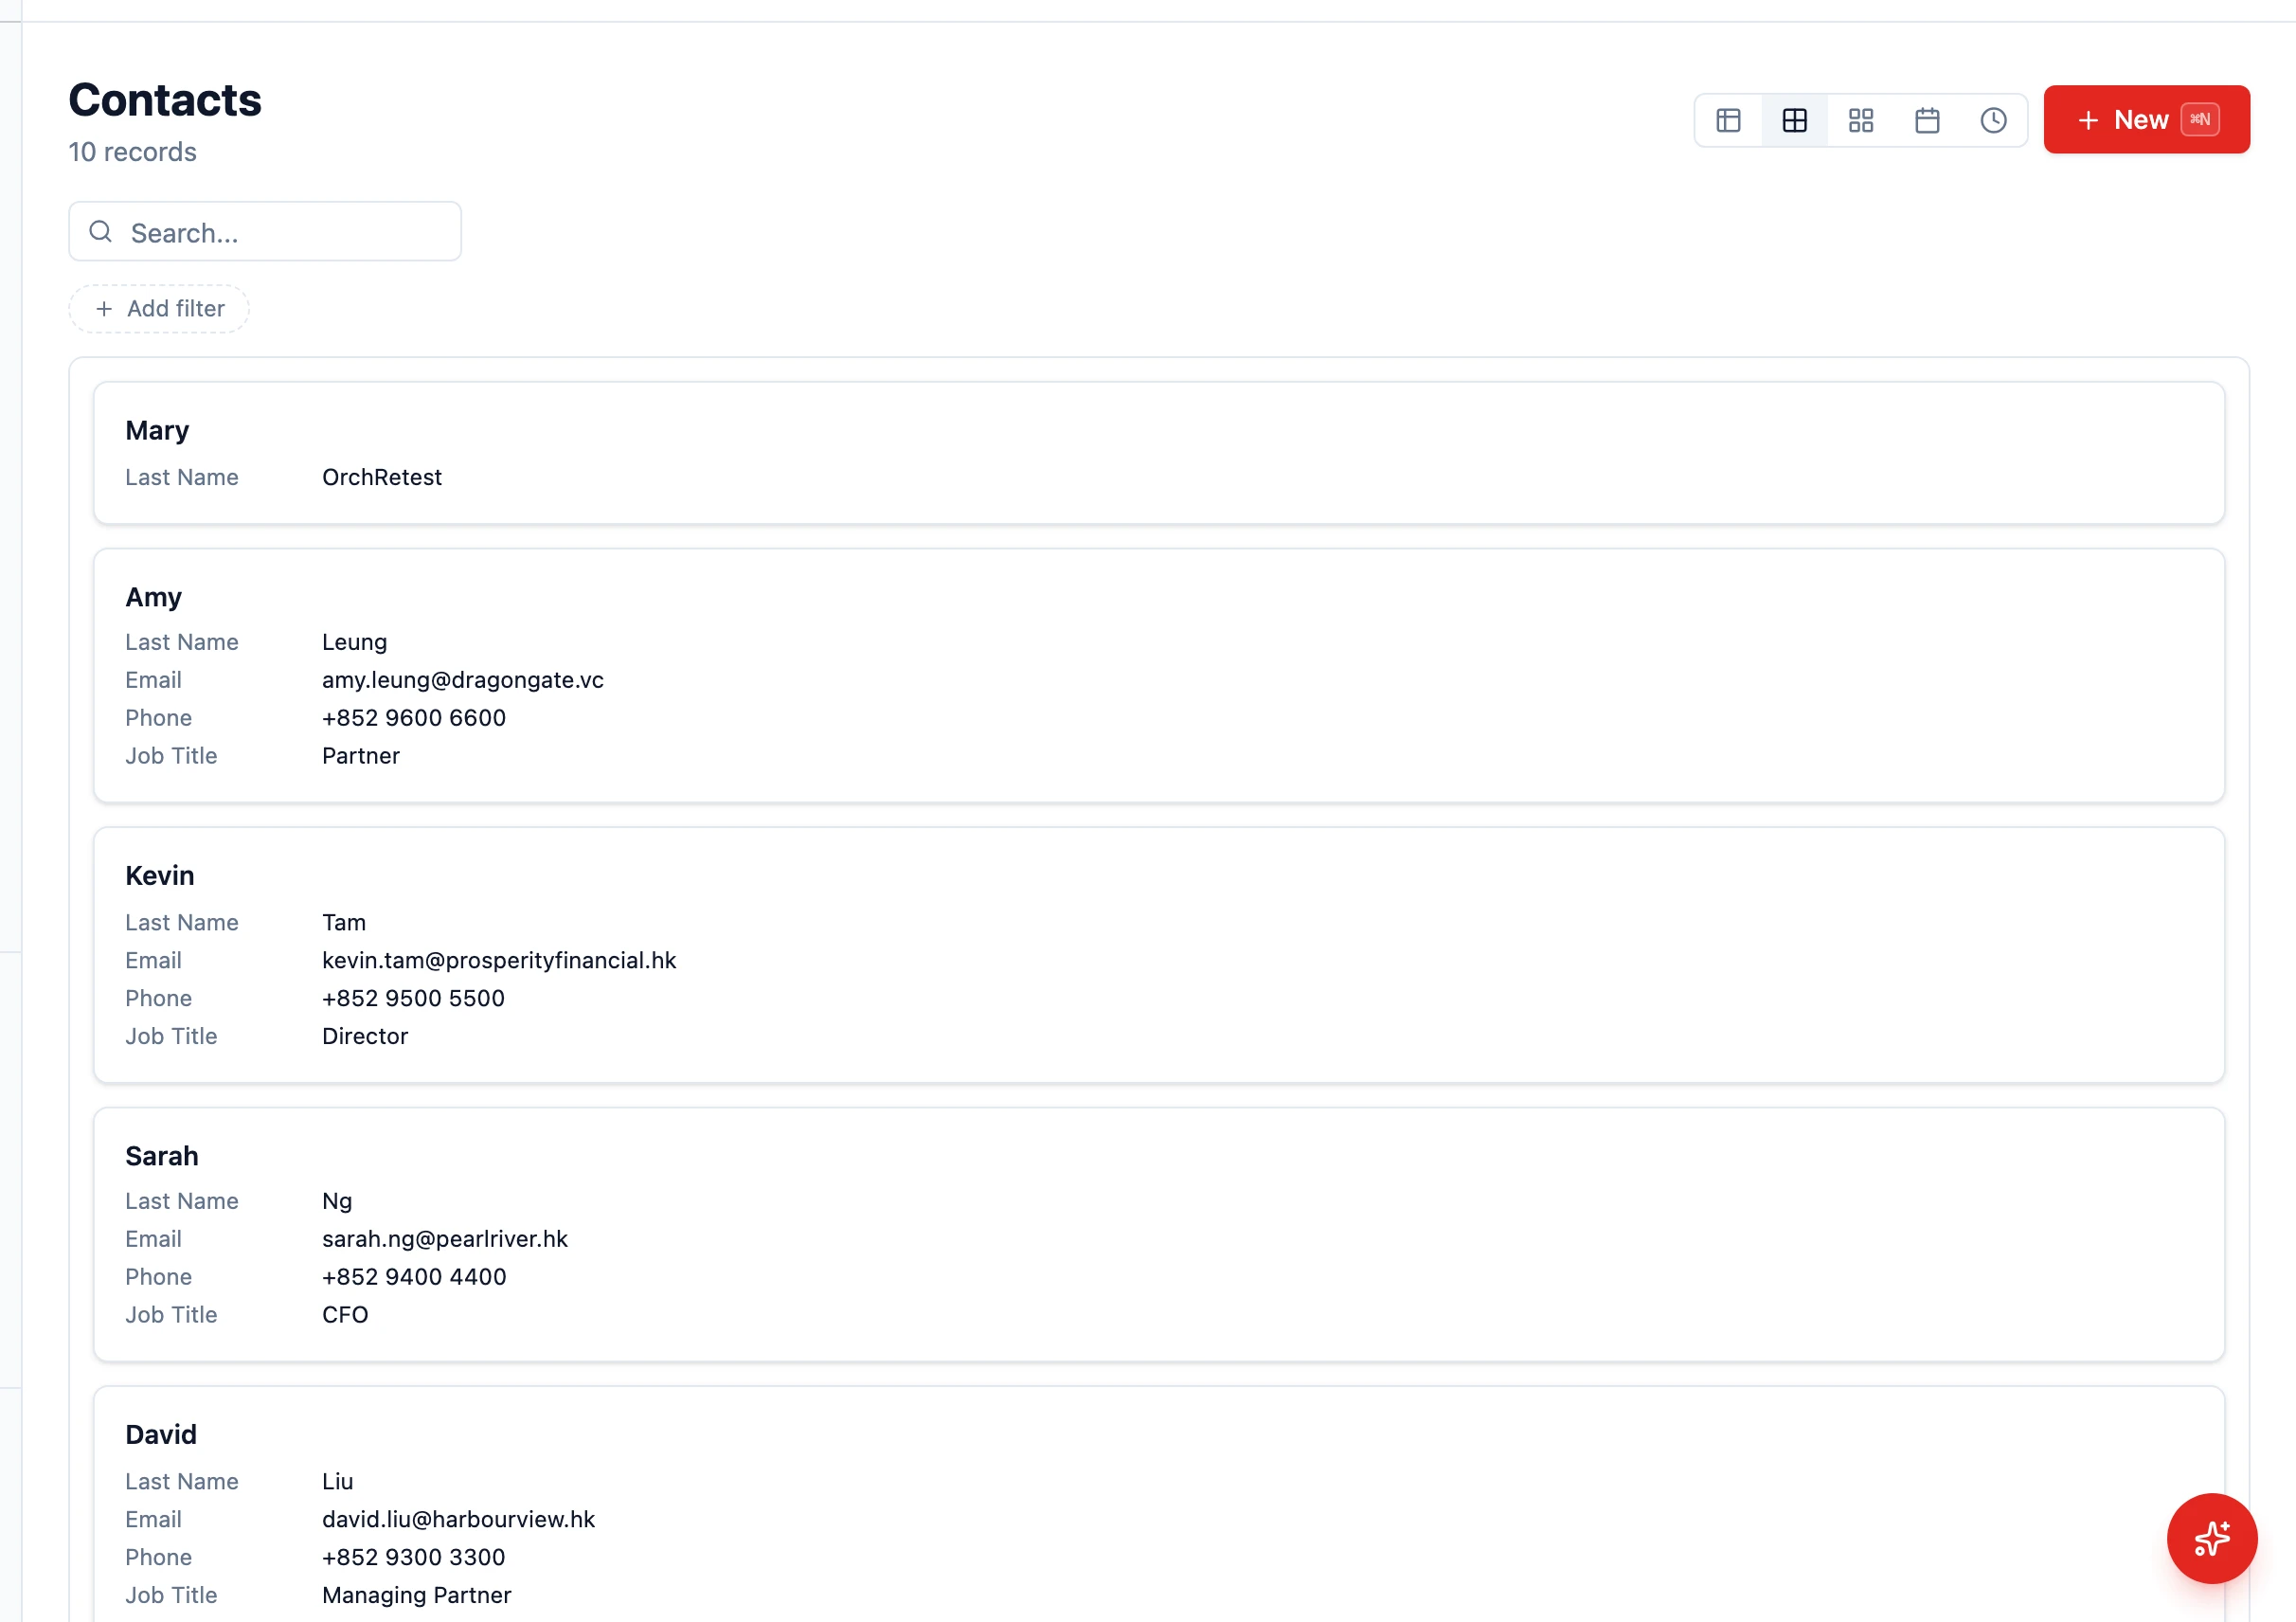
Section titled “How to Use Cards View”The Cards view displays records as individual cards in a grid layout, giving you a more visual way to browse your data compared to the standard table view. It is especially useful for contacts, companies, and any entity where a quick visual summary is more helpful than a dense spreadsheet.
Switching to Card View
Section titled “Switching to Card View”- Navigate to any entity list (e.g., Contacts, Companies)
- In the view-mode toolbar, click the Cards icon (a 2x2 grid)
Records appear as cards in a responsive grid that adjusts to your screen size. On mobile devices, the list automatically defaults to Card view because narrow screens can’t show table columns comfortably.
What Each Card Shows
Section titled “What Each Card Shows”The card layout is driven by the entity’s card configuration in the schema (set up by an admin via Settings > Schema). When set, the card shows:
- Title — The record’s primary identifier (e.g. contact name, company name)
- Subtitle / fields — A configurable list of additional fields
- Badge — Optional status badge
- Avatar / colour accent — Optional, if a field is mapped for it
When no card configuration is set, HARi falls back to showing the entity’s “show in list” fields.
Customising Card Content
Section titled “Customising Card Content”Card content is set per entity, not per user. To change what cards show:
- Open Settings > Schema
- Pick the entity
- Open the Forms tab and edit the entity’s card layout (fields, subtitle, badge, avatar)
- Save — everyone now sees the new layout
Interacting with Cards
Section titled “Interacting with Cards”- Click a card — Opens the record for editing
- Page through results — Cards respect the page size from your profile preferences
- Filter — Use the filter bar to narrow which cards appear
- Sort — Cards respect the entity’s default sort
When to Use Card View
Section titled “When to Use Card View”Cards view works best when:
- You want to quickly scan contacts or companies visually
- You prefer a less data-dense layout than a table
- You are on a tablet or smaller screen where table columns feel cramped
For data-heavy analysis or bulk operations, the standard Table view is usually more efficient.
Saving a Card View
Section titled “Saving a Card View”- Set your filters and switch to Card mode
- Open the views menu and click Save current view
- Name it (e.g. “Key accounts”)