How to Use Timeline View
How to Use Timeline View
Section titled “How to Use Timeline View”HARi has two distinct “timeline” surfaces. This guide covers both:
- Timeline list view — a list-page mode that arranges records chronologically by a date field
- Activity timeline on a record — the per-record history of interactions and changes
Timeline list view (entity list mode)
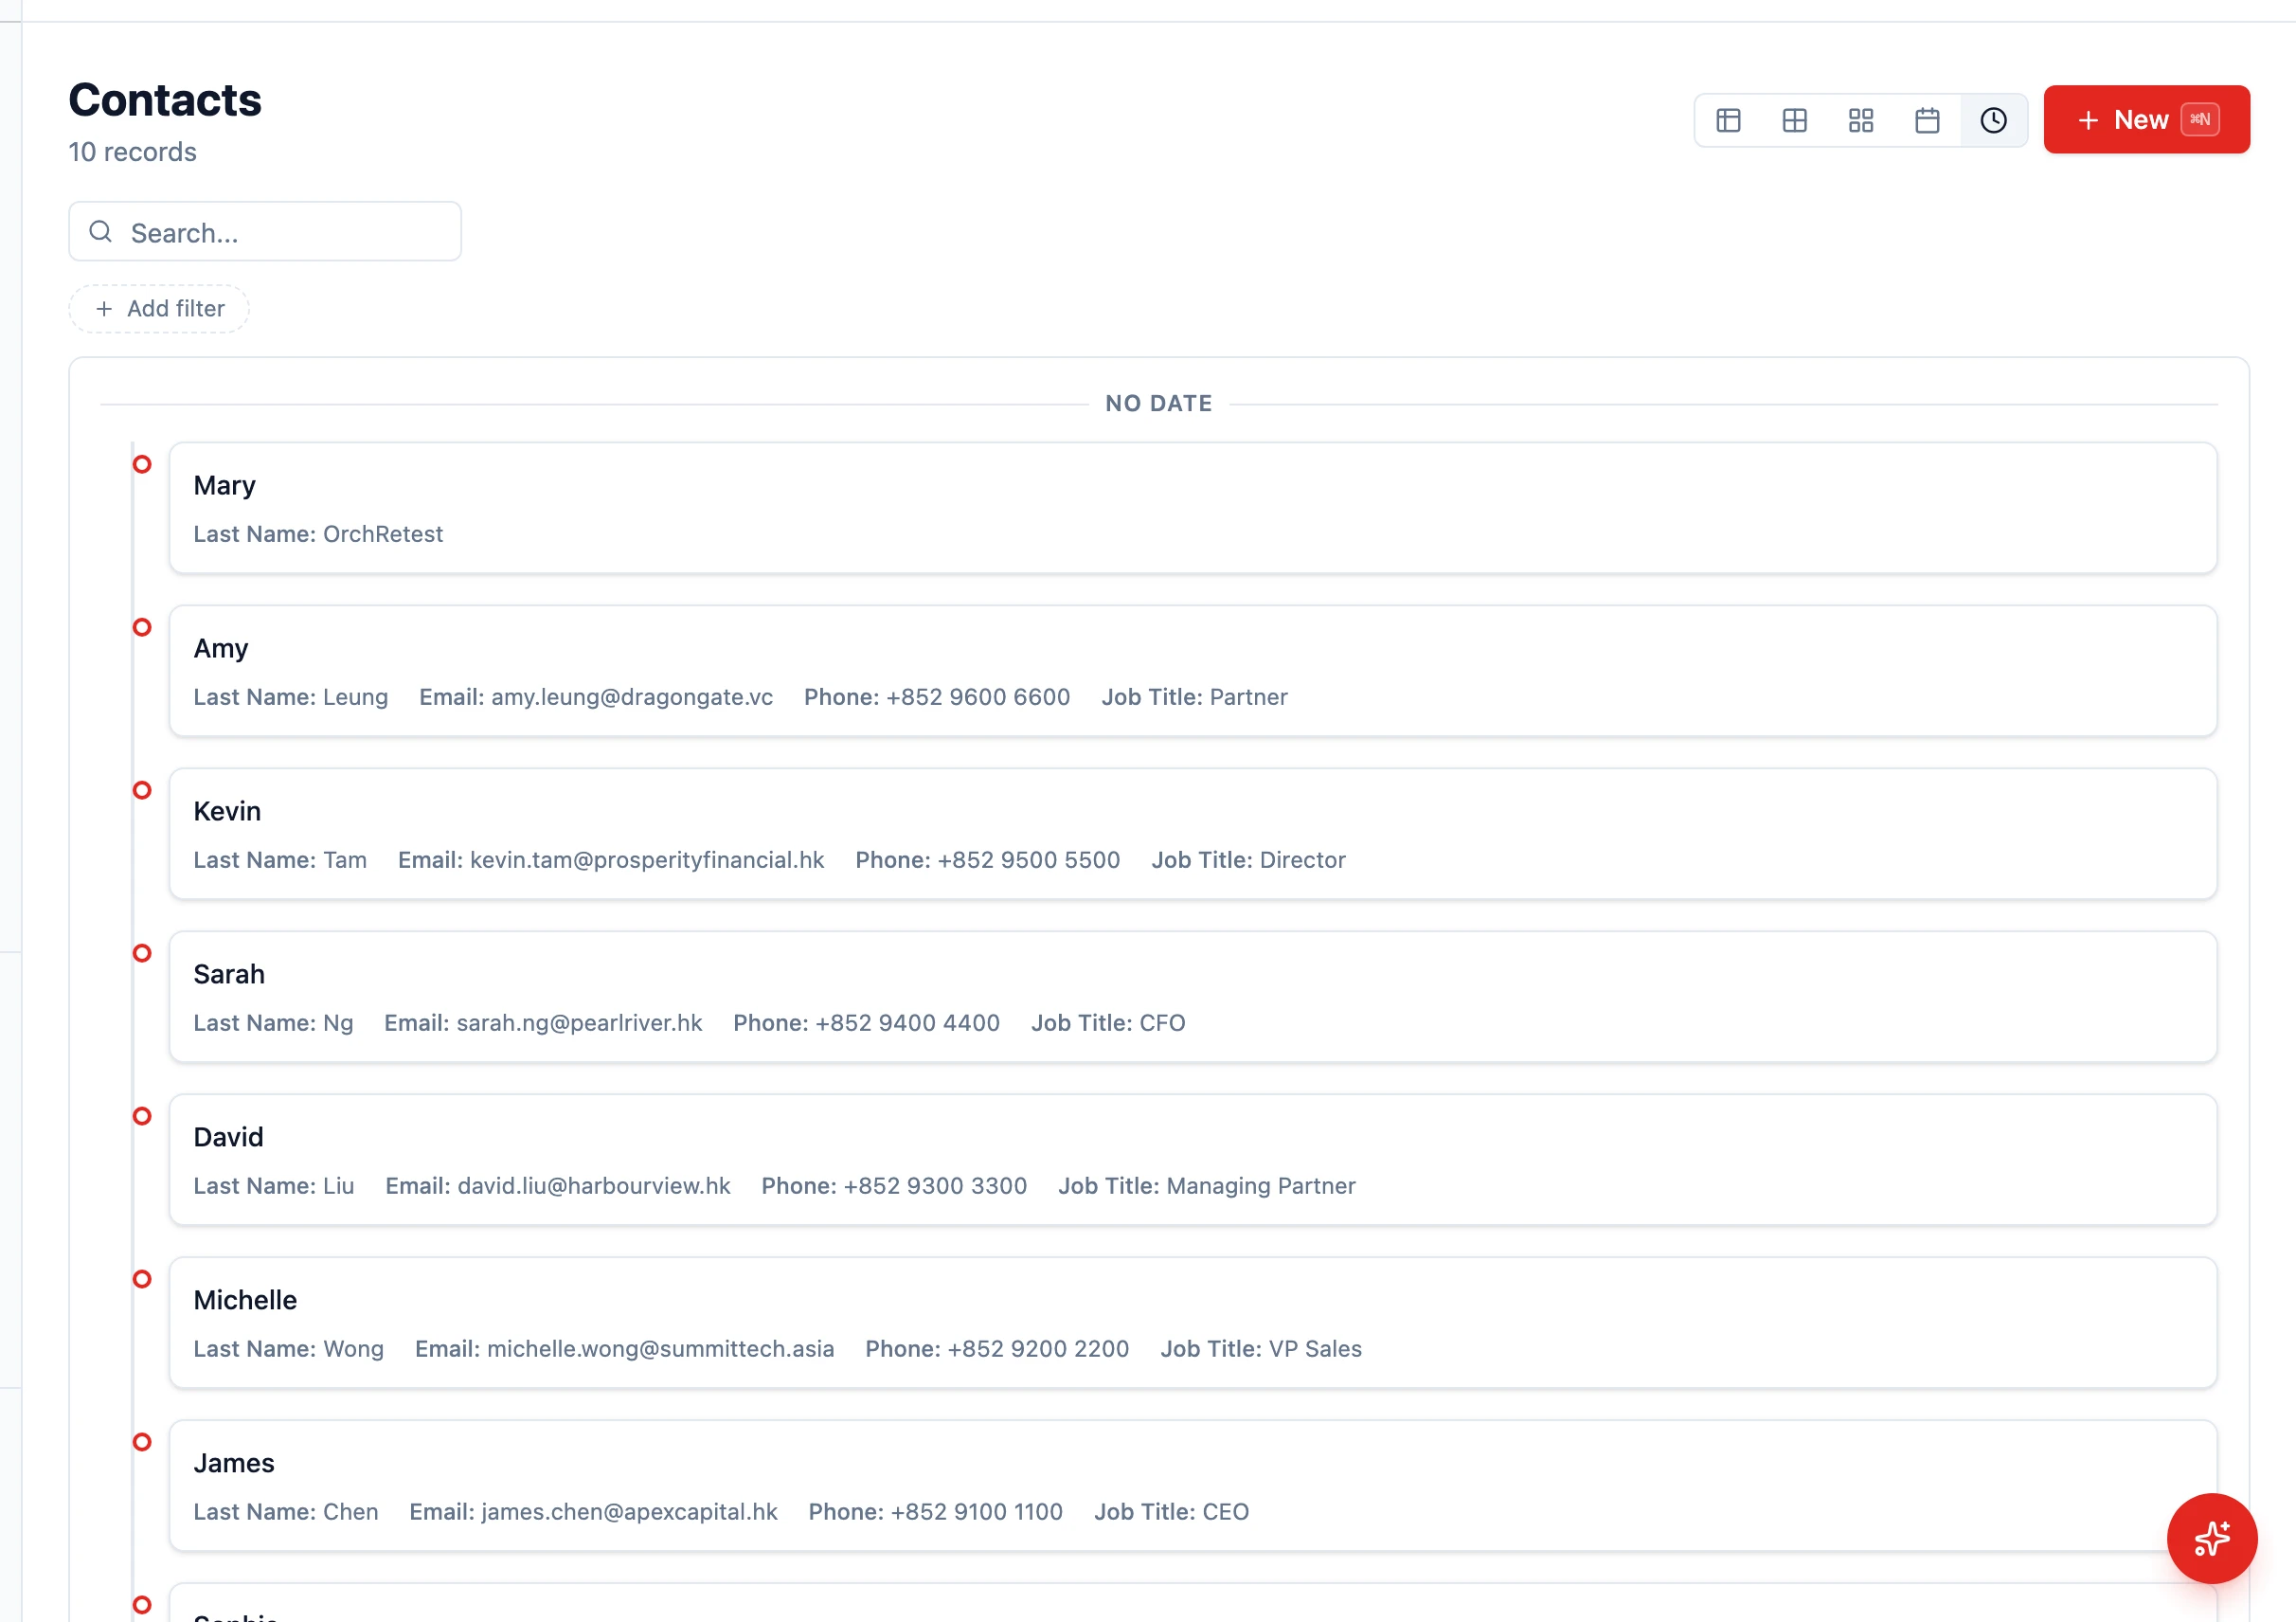
Section titled “Timeline list view (entity list mode)”The Timeline list mode arranges every record on a vertical, date-grouped axis instead of a flat table. Use it when reviewing what happened in a window of time — meetings this week, invoices issued this month, follow-up tasks coming due.
Switching to Timeline view
Section titled “Switching to Timeline view”- Navigate to an entity that has a date or date-time field (Activities, Tasks, Invoices, etc.)
- In the view-mode toolbar, click the Timeline icon (a clock)
- Records group by date, with the most relevant date field driving the chronology
If the entity has no date fields, the Timeline option is hidden.
What each entry shows
Section titled “What each entry shows”- The display field at the top (the record’s primary label)
- The date taken from the chosen date field
- Up to four detail fields drawn from the entity’s “show in list” configuration
- Status badges for any select fields with colours configured
Click any entry to open the record.
Filtering and saving
Section titled “Filtering and saving”Use the same filter bar as the table view to narrow the timeline (for example, “Owner = me” + “Status = Open”). Save the view via the views menu so you can come back to the same chronology later.
Activity timeline on a record
Section titled “Activity timeline on a record”Every record page has its own activity timeline showing every interaction and change related to that record.
Accessing the activity timeline
Section titled “Accessing the activity timeline”- Open any record (contact, company, opportunity, or any entity)
- Switch to the Activity tab — a chronological feed of interactions
- The History tab shows raw field-level changes (audit log)
What the activity timeline shows
Section titled “What the activity timeline shows”- Logged interactions — Phone calls, in-person meetings, LinkedIn / WhatsApp / WeChat messages, notes added via the Log interaction action
- Emails — Sent and received emails, including open tracking data when available
- Tasks — Tasks created and completed against the record
Field-level changes (stage moved from X to Y, owner changed) live on the History tab.
Reading the timeline before a meeting
Section titled “Reading the timeline before a meeting”Before a customer call, scan the timeline to prepare:
- Open the contact record
- Look at the last three to five entries to see what was discussed last time, any open issues or promises, recent stage changes, and email engagement
- Spend 30 seconds here and you save the customer from having to repeat themselves