Send Automated Emails
Send Automated Emails
Section titled “Send Automated Emails”Automated emails save time and ensure consistent communication. HARi gives you two complementary tools:
- Automations (top-level Automations menu) — visual builder for marketing-style sequences (welcome series, birthday emails, follow-up cadences). Best when you want timing, branches, and multi-step flows.
- Workflows (Settings > Workflows) — record-event triggers that run a single action (or a few). Best for transactional emails tied to a save or status change.
This guide covers both.
Prerequisites
Section titled “Prerequisites”Before setting up automated emails, make sure you have:
- Configured your email provider (SMTP or Plunk)
- Created at least one email template with merge fields
Workflows: Send a Welcome Email to New Contacts
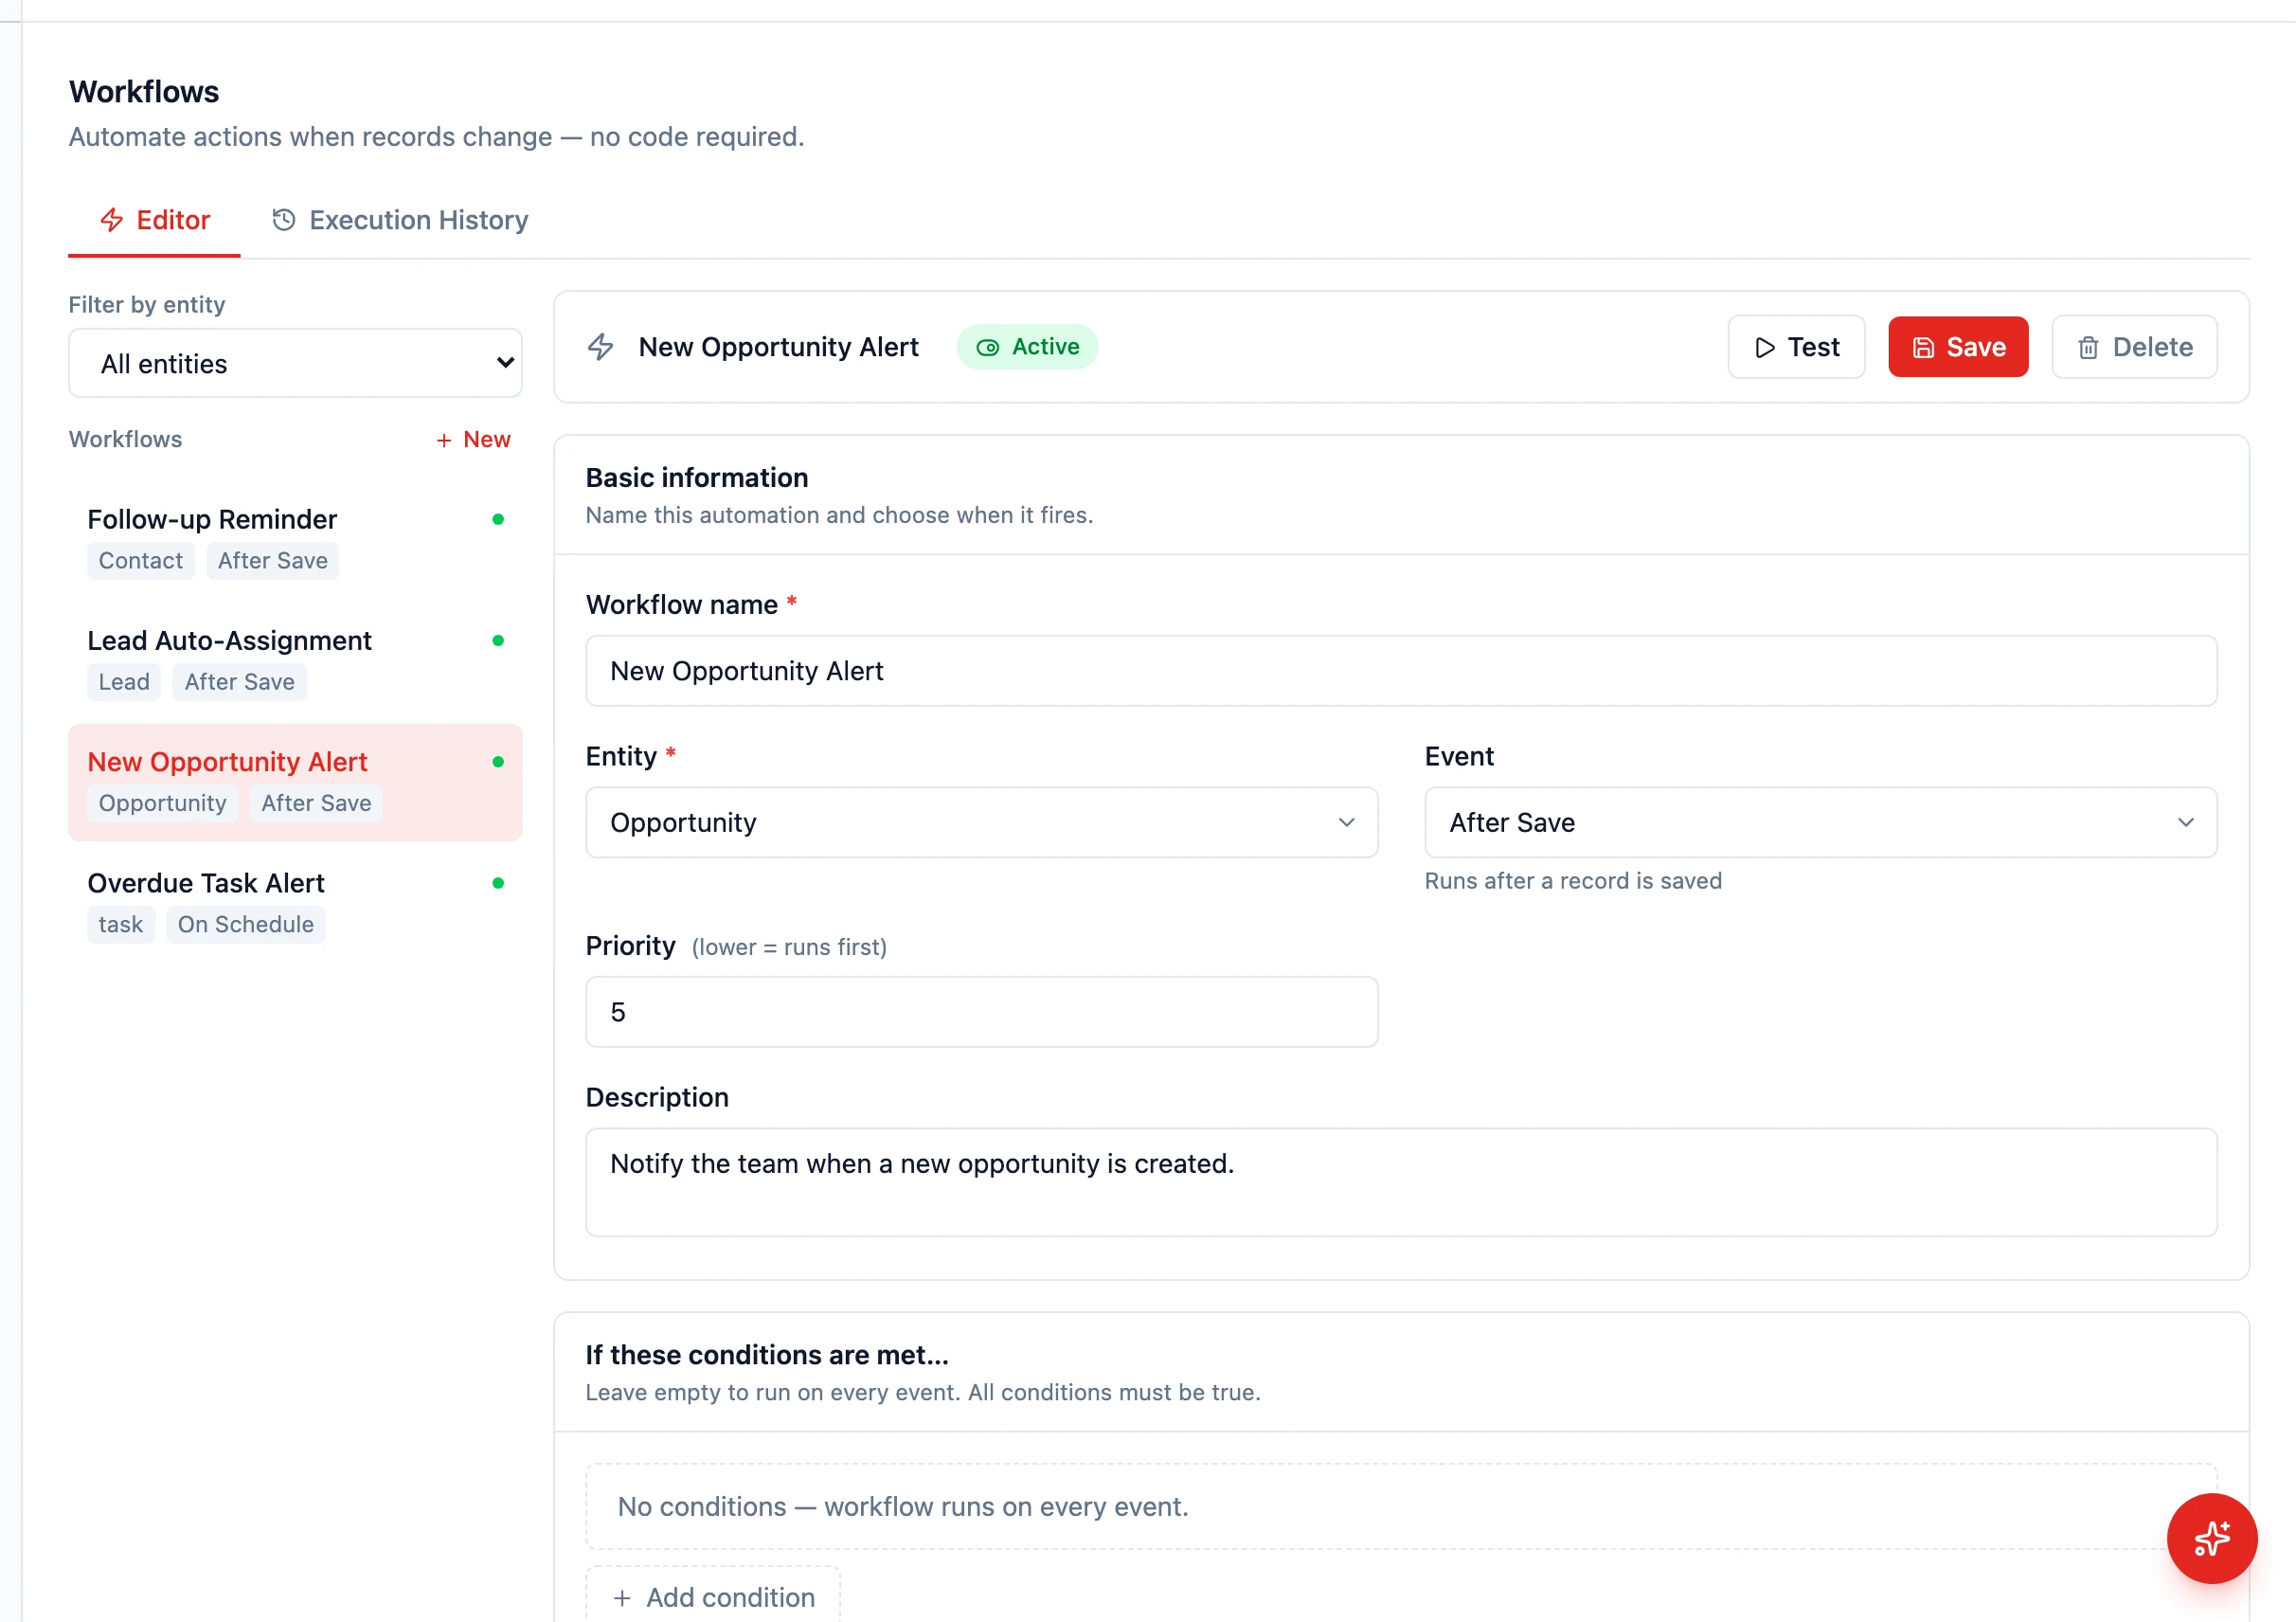
Section titled “Workflows: Send a Welcome Email to New Contacts”- Open Settings > Workflows
- Click to create a new workflow
- Configure the workflow:
- Name: “Welcome Email”
- Entity: Contact
- Event: After Save (and tick the “only when newly created” condition)
- Optionally, add an IF condition to limit who receives it:
- “Source equals Website” (only send to contacts from the website)
- Add an action of type Send email
- Configure the email action:
- To: Select the contact’s email field
- Template: Choose your “Welcome Email” template
- From: Your configured sender address
- Save and toggle the workflow to Active
Workflows: Notify on a Stage Change
Section titled “Workflows: Notify on a Stage Change”- Create a new workflow on the Opportunity entity
- Set the Event to Status Change (or use After Save with a “Stage changed” condition)
- Add a condition: “Stage equals Proposal”
- Add a Send email action:
- To: The related contact’s email (via the relation)
- Template: “Proposal Sent Notification”
- Save and activate
Automations: Welcome Series
Section titled “Automations: Welcome Series”For a multi-step sequence (e.g. welcome email now, follow-up after 3 days, check-in after a week):
- Open Automations from the main sidebar
- Click New automation and pick the Welcome series recipe (or start from scratch)
- The visual canvas opens with a Trigger node already added — pick New contact added as the trigger subtype
- Add Send an email action nodes connected by Wait timer nodes
- Save the automation and switch it on
Triggers available include: New contact added, Field changes, Form received, Email opened / clicked, Matches a saved filter, Engagement score reached, Date arrives, and Added manually.
Using Merge Fields in Templates
Section titled “Using Merge Fields in Templates”Merge fields pull data from the record into the email. Common merge fields:
{{contact.first_name}}— The contact’s first name{{opportunity.name}}— The deal name{{opportunity.value}}— The deal value{{company.name}}— The related company name
These are replaced with actual values when the email is sent.
Monitoring Automated Emails
Section titled “Monitoring Automated Emails”Check the record’s timeline to see when automated emails were sent. Each email shows:
- When it was sent
- Whether it was opened
- Whether links were clicked
You can also review workflow execution logs in Settings > Workflows to see which emails succeeded or failed, and check campaign and automation send statistics from the Automations dashboard.
Next Steps
Section titled “Next Steps”- Create a Follow-Up Sequence for multi-step email automation
- Auto-Assign Leads to combine email automation with lead routing
- Your First Workflow for workflow basics