How to Create an Email Template
How to Create an Email Template
Section titled “How to Create an Email Template”Email templates let you write a message once and reuse it whenever you need to send the same type of email — follow-ups, introductions, meeting confirmations, or payment reminders. Templates can include placeholders that auto-fill with contact details.
Creating a Template
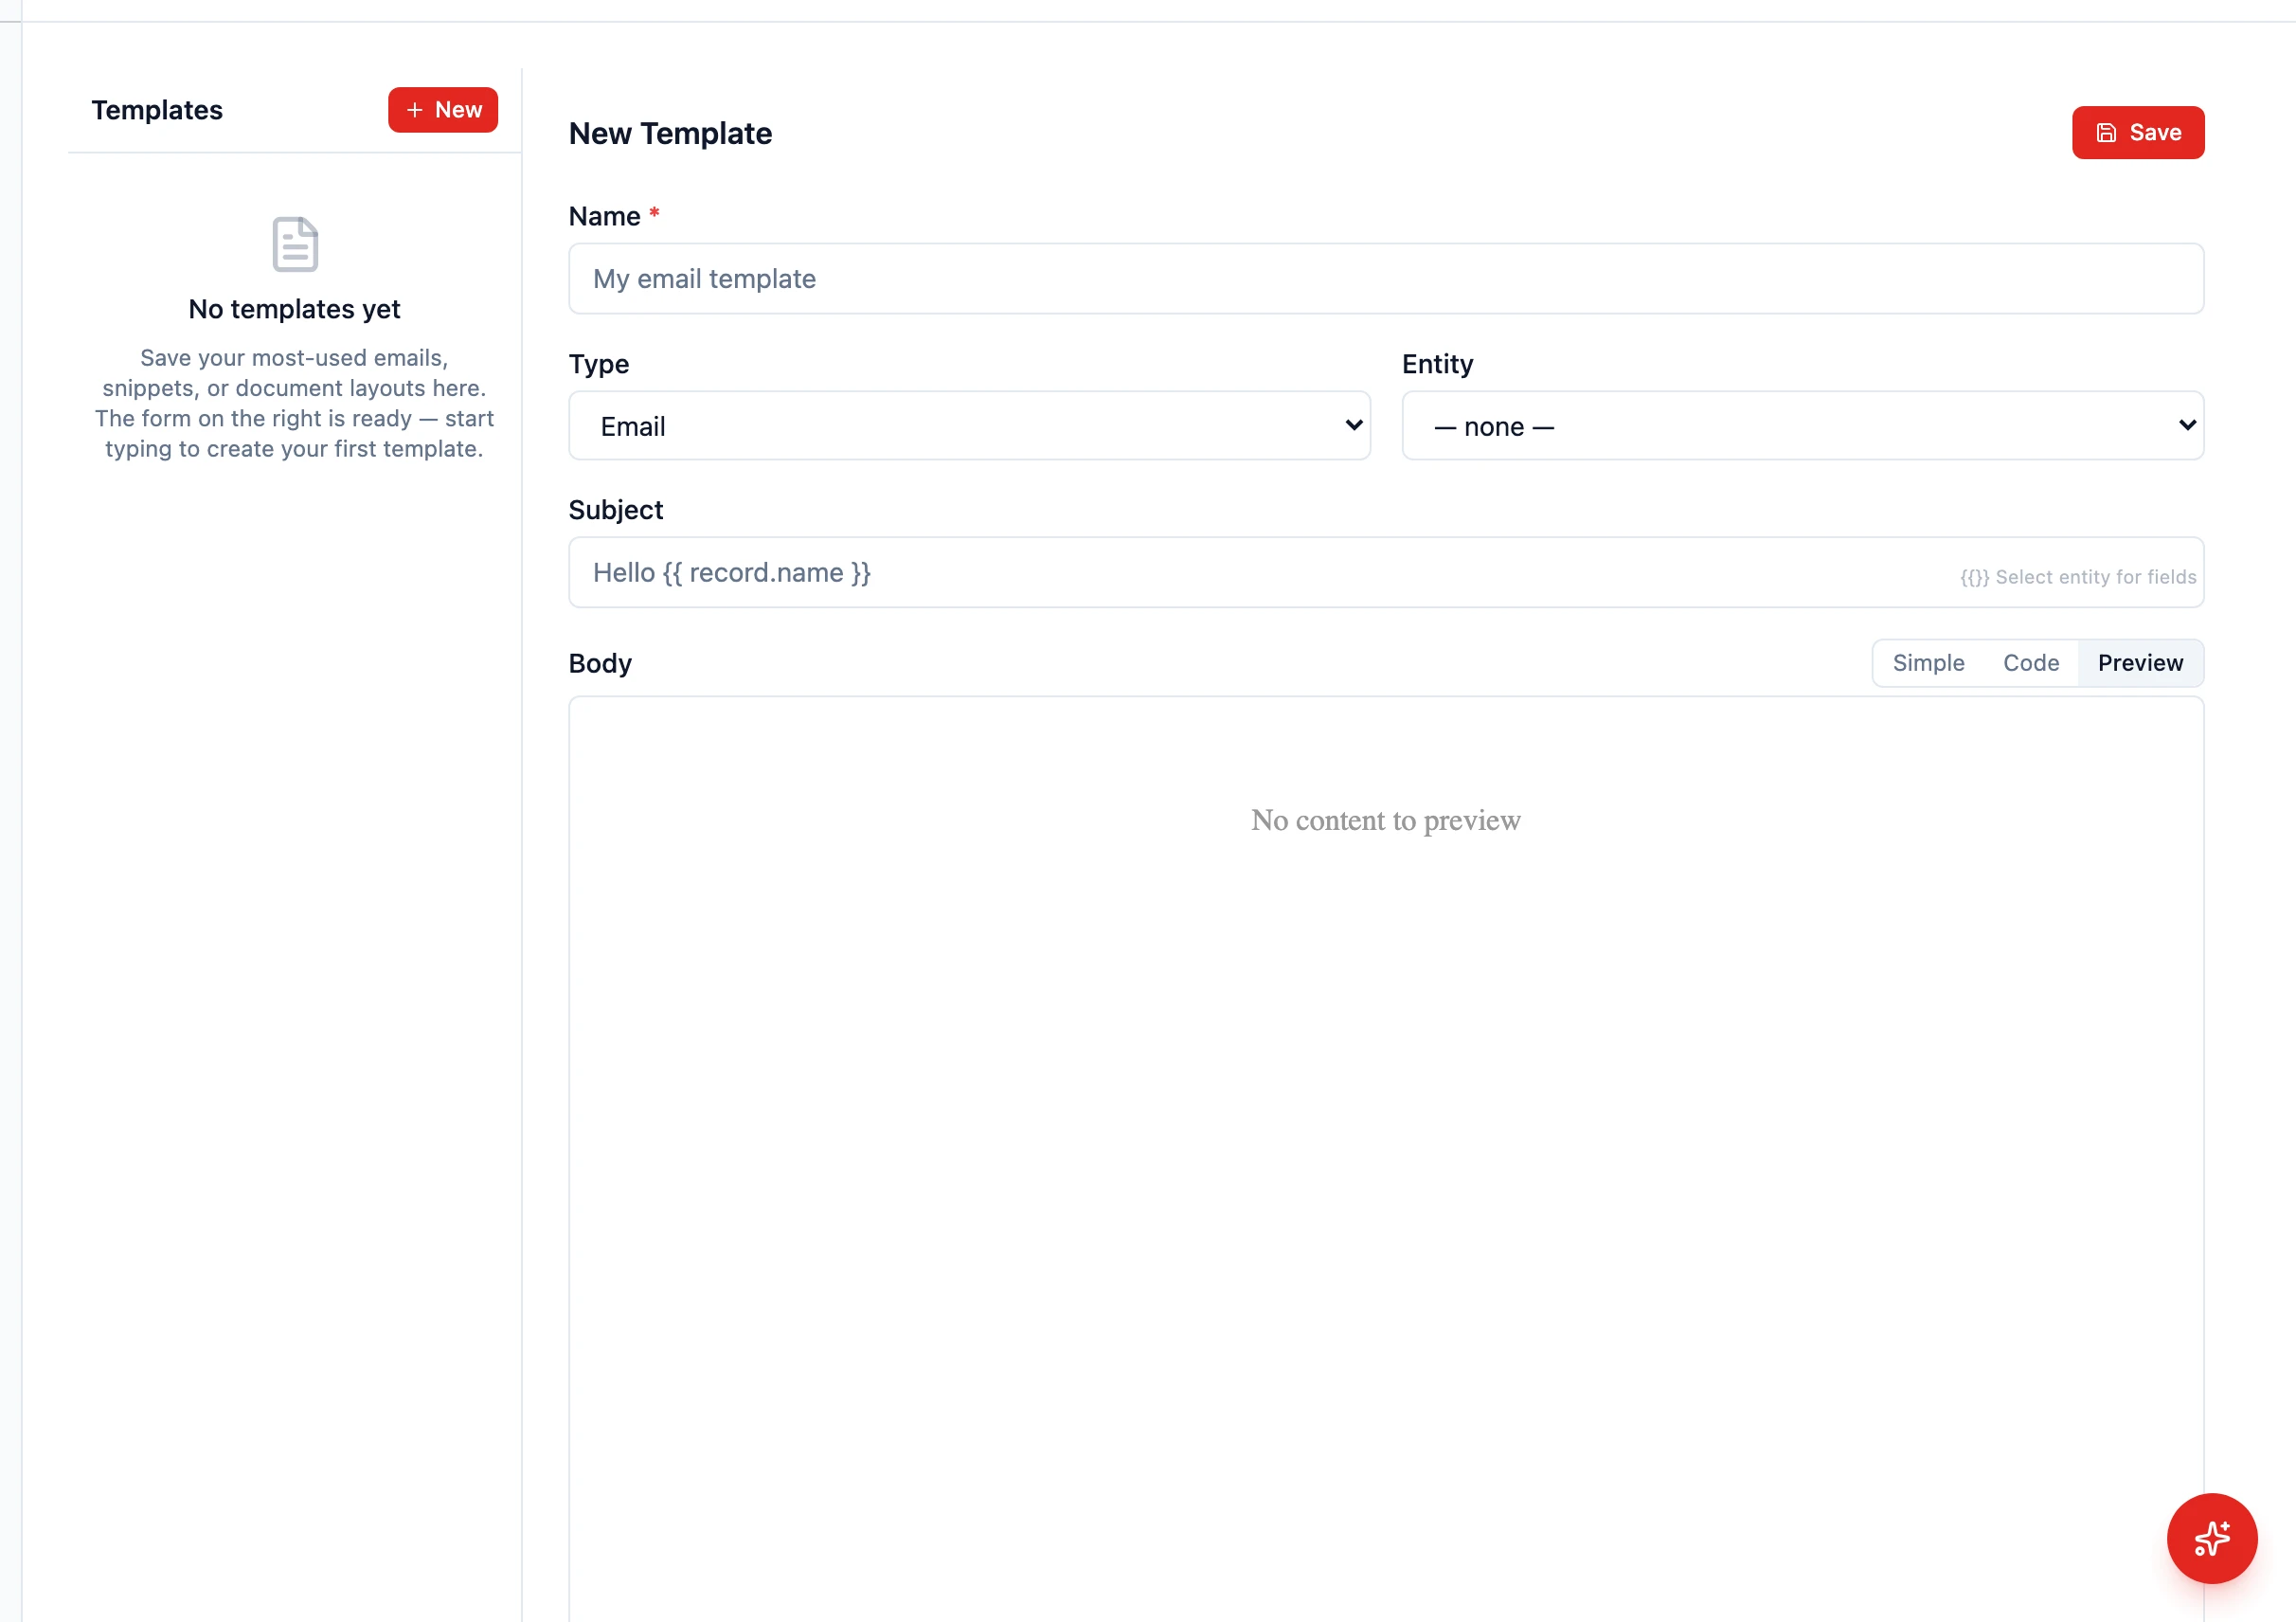
Section titled “Creating a Template”- Go to Settings > Templates
- Click New in the top-left of the templates list
- Fill in the template details:
- Name — A descriptive name for internal use (e.g., “Follow-up after demo”)
- Entity — Pick the entity the template binds to (Contact, Company, Opportunity, etc.) so HARi knows which fields are available
- Subject — The email subject (placeholders are allowed here too)
- Body — Write your email content using the rich text editor or the raw HTML / text view
- Save the template
Using Placeholders
Section titled “Using Placeholders”Placeholders are dynamic fields that get replaced with actual data when you send the email. They use the form {{ record.field_name }} — the record refers to whichever record you’re sending from (a contact, a company, a deal):
{{ record.first_name }}— The recipient’s first name (when the template is bound to Contact){{ record.name }}— The record’s primary display field{{ record.email }}— The recipient’s email{{ record.amount }}— A deal value (when the template is bound to Opportunity)
In the editor, click the placeholder picker to see every field available for the chosen entity and insert the right merge tag without typing it.
Example template (bound to Contact):
Subject: Following up on our conversation, {{ record.first_name }}
Hi {{ record.first_name }},
Thank you for taking the time to chat yesterday. I wanted to follow up on the points we covered…
Using a Template When Sending Email
Section titled “Using a Template When Sending Email”- Open a contact, company, or deal record
- Click Send template in the action bar (only appears when at least one template is bound to that entity)
- Select your template from the picker
- The subject and body are filled in, with placeholders replaced by actual values
- Edit the message if needed, then send
Templates can also be picked automatically from a workflow or automation — see Send Automated Emails.
Organizing Templates
Section titled “Organizing Templates”As your template library grows, keep it manageable:
- Use clear names — “Follow-up after demo” is better than “Template 3”
- Group by purpose — Sales follow-ups, onboarding, payment reminders
- Review regularly — Update templates when your messaging changes